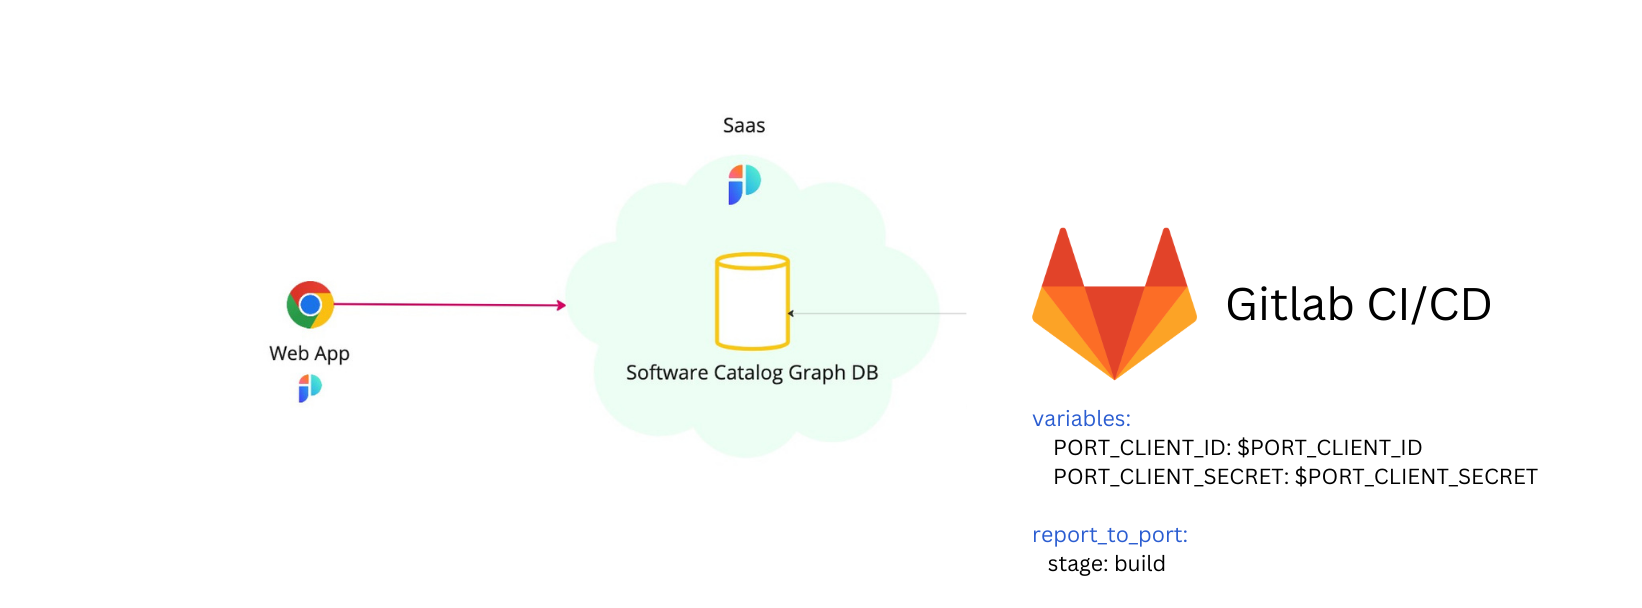
Gitlab CI Pipelines
通过 Gitlab CI Pipelines,您可以在 Port 中轻松创建/更新和查询实体。

💡 常见的 Gitlab CI Pipelines Usage
例如,Port 的 API 可以轻松实现 Port 与 Gitlab CI Pipelines 作业的集成:
- 报告正在运行的CI任务的状态;
- 更新软件目录中有关微服务新**构建版本的信息;
- 获取现有实体。
设置
要使用 Gitlab CI 管道与 Port 交互,首先需要将define your Port credentials 作为管道的变量。然后,将定义好的变量传递给 ci 管道脚本,例如 Python:
image: python:3.9

variables:
  PORT_CLIENT_ID: $PORT_CLIENT_ID # The variable name for your Port clientId
  PORT_CLIENT_SECRET: $PORT_CLIENT_SECRET # The variable name for your Port clientSecret

report_to_port:
  stage: build
  script:
    - python main.py
请确保您的 Port 安装中已有Blueprint ,以便创建/更新实体。
使用 Port 的 API
下面的示例片段展示了如何使用 Python 将被用于 Port API 的作业与现有的 Gitlab CI 管道集成:
将以下任务添加到 Gitlab Pipelines:
Gitlab pipeline YAML
image: python:3.9

variables:
  PORT_CLIENT_ID: $PORT_CLIENT_ID
  PORT_CLIENT_SECRET: $PORT_CLIENT_SECRET

stages:
  - build

report_to_port:
  stage: build
  before_script:
    - python -m pip install --upgrade pip
    - pip install -r requirements.txt
  script:
    - python main.py
在下面的示例中,我们使用了需要安装的 Python 模块。 你可以引用下面的
requirements.txt:port_requirements.txt
requests>=2.28.2
- Create/Update
- Get
在版本库中创建以下 Python 脚本,以创建或更新 Port 实体,作为管道的一部分:
import os
import requests
import json

# These are the credentials passed by the variables of your pipeline to your tasks and in to your env
CLIENT_ID = os.environ['PORT_CLIENT_ID']
CLIENT_SECRET = os.environ['PORT_CLIENT_SECRET']
API_URL = 'https://api.getport.io/v1'

credentials = {
    'clientId': CLIENT_ID,
    'clientSecret': CLIENT_SECRET
}
token_response = requests.post(f"{API_URL}/auth/access_token", json=credentials)
# use this access token + header for all http requests to Port
access_token = token_response.json()['accessToken']

headers = {
    'Authorization': f'Bearer {access_token}'
}

entity_json = {
        "identifier": "example-entity",
        "properties": {
          "myStringProp": "My value",
          "myNumberProp": 1,
          "myBooleanProp": true,
          "myArrayProp": ["myVal1", "myVal2"],
          "myObjectProp": {"myKey": "myVal", "myExtraKey": "myExtraVal"}
      }
}

# request url : {API_URL}/blueprints/<blueprint_id>/entities
create_response = requests.post(f'{API_URL}/blueprints/test-blueprint/entities?upsert=true', json=entity_json, headers=headers)
print(json.dumps(get_response.json(), indent=4))
在版本库中创建以下 Python 脚本,以获取 Port 实��体作为管道的一部分:
import os
import requests
import json

# These are the credentials passed by the variables of your pipeline to your tasks and in to your env
CLIENT_ID = os.environ['PORT_CLIENT_ID']
CLIENT_SECRET = os.environ['PORT_CLIENT_SECRET']
API_URL = 'https://api.getport.io/v1'

credentials = {
    'clientId': CLIENT_ID,
    'clientSecret': CLIENT_SECRET
}

token_response = requests.post(f'{API_URL}/auth/access_token', json=credentials)
# use this access token + header for all http requests to Port
access_token = token_response.json()['accessToken']
headers = {
  'Authorization': f'Bearer {access_token}'
}

# request url : {API_URL}/blueprints/<blueprint_id>/entities/<entity_id>
get_response = requests.get(f"{API_URL}/blueprints/test-blueprint/entities/test-entity", headers=headers)
print(json.dumps(get_response.json(), indent=4))
示例
有关使用 Gitlab CI Pipelines 处理 Port 的实际示例,请引用examples 页面。